Create automations
Automations fire on their own when something happens — an incident opens, a deploy succeeds, a compliance rule changes state — instead of waiting for someone to act.
Create one
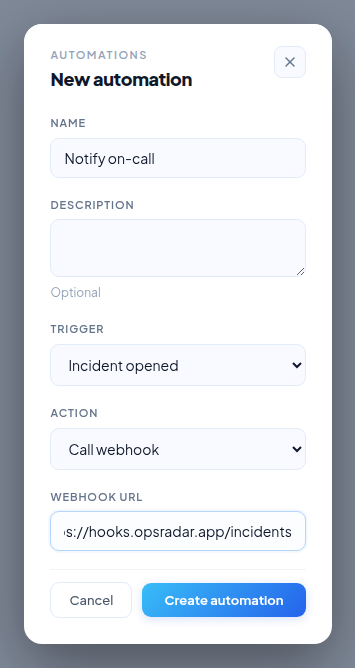
- Go to Automations and click + New Automation.
- Give it a Name and, optionally, a Description.
- Pick a Trigger (this is locked once the automation is created):
- Incident opened
- Deploy succeeded
- Rule / scorecard changed
- Schedule — a cron expression, e.g.
0 0 6 * * * - Event from another system — pick the source integration and the event type(s) to match
- Pick an Action (also locked after creation):
- Send notification
- Call webhook — provide the webhook URL
- Click Create automation.
Once created, each automation shows as a card summarizing its trigger and action, with a toggle to enable or disable it and options to edit or delete.
Agent-triggered automations
You'll notice Invoke agent isn't an option in the form above — that's deliberate. Automations that invoke an agent are created only by instantiating an agent template, not hand-built here. For example, the Incident Manager template creates both the agent and an "Incident opened → invoke agent" automation together, so the trigger and the agent's behavior stay in sync.
Related: Actions
Automations are related to, but distinct from, Actions — a separate, governed catalog of self-service actions (including calling webhooks) that people can trigger manually, with their own approval flow. An automation's "Call webhook" action type overlaps with what's in the Actions catalog, but creating an automation is about when something runs automatically, not the catalog of things available to run on demand.